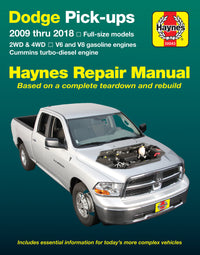
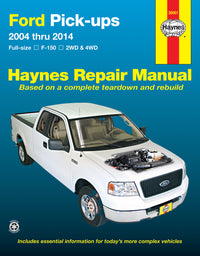
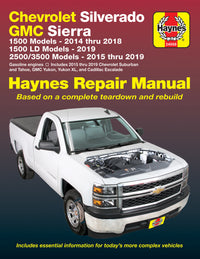
Just this weekend I saved more than $200 with just 30 minutes of labor, a few simple hand tools, and the knowledge gained from my Haynes Manual. The local dealer, after performing the recommended 50,000-mile check-up and service on my wife's car, informed her that her brake pads were down to their last few millimeters of life.
Their cost for a brake job? $300! The price of new OEM quality brake pads? $65. Money pocketed? $235!
If you are familiar with how disc brakes go together, or you take a look at your Haynes Manual or the OnDemand one job video for your car, you will quickly realize that installing new brake pads is laughably simple. Once you have the properly sized wrenches, a jack, a C-clamp, and the knowledge of which bolts need to be removed, the process is about as difficult as replacing a smoke detector battery.
The most time-consuming aspect of the whole job is jacking up the car, securing it, and removing the wheel. And the most labor intensive part is simply loosening the lug nuts.
Obviously, this brief blog post can't detail exactly how every brake pad is replaced for every caliper, but most common cars are generally similar.

- Put a rag around the brake master cylinder at the firewall (to soak up any overflowing fluid).
- Press piston back into caliper slightly with C-clamp.
- Identify the bolts which hold the caliper to the sliding pins.
- Loosen one (usually the upper) and remove the other. Now the hydraulic part of the caliper can be swung up and away from the brake pads.
- Spray pads and rotor with brake clean to remove dust.
- Pop old pads out, careful not to lose clips or shims you may need to reuse.
- Install any parts that need to be reused.
- Pop new pads in (you may need to press the piston back further to account for more pad material).
- Swing caliper back into place.
- Tighten caliper bolts to recommended torque specification.
Changing brake pads on these types of sliding calipers used on most passenger cars and trucks takes just a few minutes. The type of multi-piston calipers on sports cars, luxury cars, and many European models can be much more involved, but still well worth learning how to do.
For a simple replacement of worn pads, there is no need to crack opened the closed hydraulic system and then bleed the brakes. However, brake fluid should be replaced every 3 years or so, so it may be time to flush out the old with a full reservoir of new fluid and bleeding all four wheels.
Often times there is no need to replace, or even recut, the disc rotors when replacing the pads. Look at the rotors and run a finger over the surface to check for grooves. Most auto parts stores can cut a small amount of material off the surface on a lathe, if needed, for a nominal fee. Even if you need to resurface the rotors, you are still going to save nearly $200 compared to the cost of just pads and labor at the dealer.

