We all dream of uncovering a barn find – a well preserved old car or truck, hidden away in a dusty old building, untouched for decades. But once the dream becomes a reality, where do you start? For most finds, the final goal is going to land somewhere between full restoration, and hose off the dirt and stop. No matter what condition you find it in, or what condition you are planning on getting it to, there are a handful of things you’ll need to do.
By no means is this outline definitive, but it will get you going in the right direction, and give you a list of things to consider before you start. We’re going to assume you already got your prize home on a trailer or flatbed. Extracting a barn find from the barn is a whole other topic for a later day.

Pest Removal
Depending on where and how well your “new” car was stored, you may be dealing with just killing some bugs or evicting a family of raccoons. If you are going to be playing with cars like these, make sure you are caught up on all your shots (especially tetanus). If the car was pulled out of a dry desert area, look out for rattlesnakes, scorpions, and black widow spiders. Mice, and other small rodents like to make nests in door panels, seats, and even air cleaners. Bees have been known to build hives inside bodywork too.
Hopefully, extracting the car scared these beasties away. Just to be sure, open the windows, doors, hood, and trunk and make noise by beating on the roof and body panels. If you're extra paranoid, set off a bug fogger under the car inside your garage (be sure to read the warnings about pilot lights).
Cleaning
Once you nothing is left alive to sting, bite, or scratch you, it is time to peel back the layers of dust. It might help to start with a soft broom and sweep it clean first. Next hose it down with plain water, for an idea of what color it is and what condition the paint is in. If you really want, you can take a bucket of water and soap and wash it, to see what you are getting yourself into.
If you are lucky, the interior is intact with no signs of critter infestation. Still, it is a good idea to remove the seats to make it easier to clean. You may want to peel back the carpets and inspect the floors for rust and rot. Carpeting is easy to replace for most cars, and retains a lot of the “old car smell”, so you may just want to remove and replace it all.

Getting Started
The next task is determining the state of the motor and getting it to run (if possible). If the motor isn’t stuck, you should be able to rotate it with the fan (if the belt is tight) or with a socket on the crankshaft. If it won’t move at all, try some Marvel Mystery Oil down the spark plug holes, and maybe a prayer.
The engine need good gas to make it run, so start by draining any old gas out of the fuel tank. Pour a gallon of fresh gas in, and watch for leaks. Follow the fuel lines from the tank to the carburetor and replace any old rubber lines (the rusty steel lines can stay for now, unless they leak). The chances of the fuel pump working are good enough, but replace any fuel filters you find. There is no point in hoping the carburetor works, just take it off and clean the float bowl and jets; better yet, rebuild it.
The motor also needs spark to light off the fuel. Blow as much dirt away from around the old spark plugs as possible, then remove and replace them. If the plug wires aren’t falling apart, they are probably good enough for now. Put some oil down the hole into each cylinder before installing new plugs. Check the wiring to the coil (and the rest of the engine compartment), and look for rodents, vandal, or previous owner damage.
Hook up a fresh, full charged battery and cross your fingers. Turn the key to "on", and check power going to the coil with a test light. If you must, you can turn the key to test the starter, but don’t try to start it yet! Drain the oil and replace the filter, and fill with the cheap stuff, because you are going to change it again in the near future. Check that the radiator is full of coolant and top up with water for now. It might be a good idea to find a fire extinguisher before you proceed.
Now you are ready to try to start the motor, but make sure the shifter is in park (automatic), or neutral with the wheels blocked (manual). Unplug the coil wire, and crank the engine for 30 seconds at a time until you get oil pressure. If you don’t have a gauge and the "oil" light doesn’t light at all, just crank it about 5 times in short bursts. Hook up the coil, and pour a shot glass of fuel into the carburetor (with fuel injected cars you can ignore this, but may have to jump the fuel pump relay). When you crank it again, you should get at least a sputter, but be prepared for a big cloud of smoke from the exhaust.
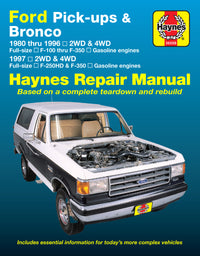
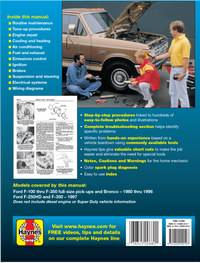
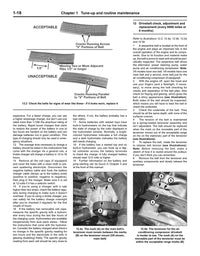
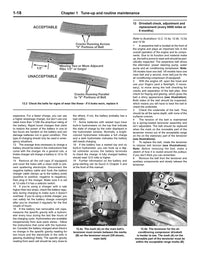
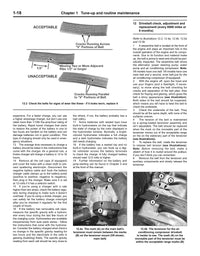
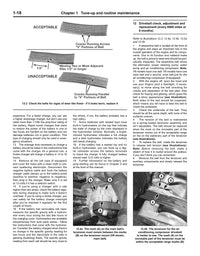
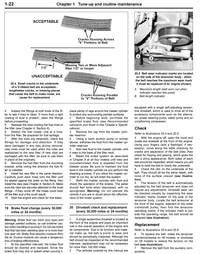
At this point, you either celebrate or open your Haynes Manual to the troubleshooting guide.

Making it Drive
Once you have it running, it is time to go over all the other little things that make it drive. Start with the most important systems, like the brakes, then check over the transmission, steering, etc. At the very least you want to check that these work, flush and fill them with their proper fluids, and lubricate any moving parts.
- Brakes - The brakes are the most important. You really ought to replace every soft rubber brakes line and rebuild or replace the hydraulics at all four wheels. The friction material should be replaced soon, and the discs/drums machined to remove the rust.
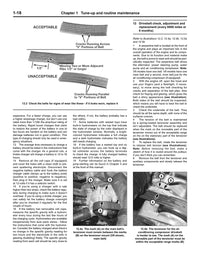
- Cooling System - Drain the coolant, and fill up with properly diluted antifreeze. Replace all the soft rubber hoses, and belts as well.
- Steering - Lubricate all the fittings on the ball joints, and steering linkages. Check for excessive play or frozen joints. While you are at it, grease any fittings on the universal joints and suspension.
- Tires - Replace the tires with ones made within the last ten years, that have some tread left and hold air.
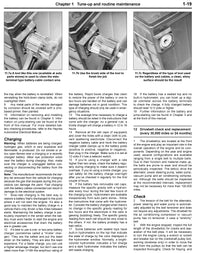
- Charging System - With the motor running, test the charging system output for more than 12 volts (unless you have a 6-volt car). Rev the motor and make sure it never goes above about 15 volts. Replace the alternator, generator, or voltage regulator as needed.
- Transmission - If you have an automatic, drain and fill it with the proper fluid. If you have a manual, check that the clutch disengages properly, then drain and fill the transmission itself.
- Differential - This should be drained and filled with gear oil as well.
- Lights - Make sure the brakes lights, turn signals and headlights work
When you get to the end of this list, you are officially at the end of the beginning of your project. If you are lucky, you might be actually done once you replace all the rubber bits and clean everything. If not, you are just begriming a fun and rewarding project, and there is bodywork and parts scrounging ahead of you.

